
Quick Summary
A humming gate motor that fails to move often points to a failing start or run capacitor that requires precise electrical diagnosis before attempting gate opener capacitor replacement. Proper repair requires isolating all power sources, safely discharging stored voltage with an appropriately rated resistor, and installing a unit that matches the exact original capacitance rating as outlined by specialists like Ironworks Gate Co. Readers will understand how to safely test and replace a faulty motor capacitor or determine when to schedule professional on-site diagnostic and replacement services for complex operator issues.
Gate Opener Capacitor Replacement: Fast Repair Guide
A humming motor that does not start can indicate a capacitor problem, but other faults are possible and electrical testing is needed for confirmation. When servicing gate opener electrical components, following safe replacement procedures and manufacturer specifications recommended by specialists like Ironworks Gate Co. is essential.[3]
What Does a Gate Opener Capacitor Do?
Gate operators rely on motor capacitors to provide the necessary electrical phase shift and torque for motor operation. When a capacitor fails or degrades, the motor may hum under load without moving the gate.[2] See also Electric Gate Troubleshooting | Call Now-10% Off | Same-Day Service | Free Estimate.
What You Need for Gate Opener Capacitor Replacement
Gather the following tools and safety equipment before starting:
- Digital multimeter with capacitance measurement capability
- Insulated hand tools
- Appropriately rated discharge resistor
- Electrical safety glasses and insulated work gloves
- Wire labels or markers
- Replacement capacitor matching manufacturer specifications
Understanding Capacitance and Voltage Ratings
When selecting a replacement capacitor, adhere strictly to the following requirements:
- The replacement must use the exact capacitance rating specified on the original capacitor or by the opener or motor manufacturer.
- The replacement must have a comparable or higher voltage rating than the original component.
Step 1: Disconnect All Power Sources
Before opening the operator chassis, completely isolate the equipment from electrical sources:
- Turn off and lock out power at the main electrical breaker feeding the gate system.
- Switch off any dedicated power disconnect switch at the operator.
- Disconnect all secondary power sources, including battery backups and solar controllers.
- Test incoming terminals with a multimeter to verify that no voltage remains before proceeding.
Step 2: Access the Enclosure and Locate the Capacitor
Open the operator weather housing to inspect internal components:
- Unlock and open the chassis cover following the manufacturer instructions.
- Locate the capacitor near the motor assembly.
- Perform a visual check for obvious signs of damage, such as bulges, leakage, or burned terminals.
Step 3: Safely Discharge the Capacitor
Never short capacitor terminals with an uninsulated tool, as this can cause component damage or personal injury.
- Safely discharge the capacitor using an appropriately rated resistor connected across the terminal posts.
- Measure across the terminals with a multimeter to verify that no voltage remains before touching wiring.
Step 4: Test the Capacitor and Check Mechanical Operation
Need gate opener capacitor replacement?
We’re available now - call for a fast, free estimate.
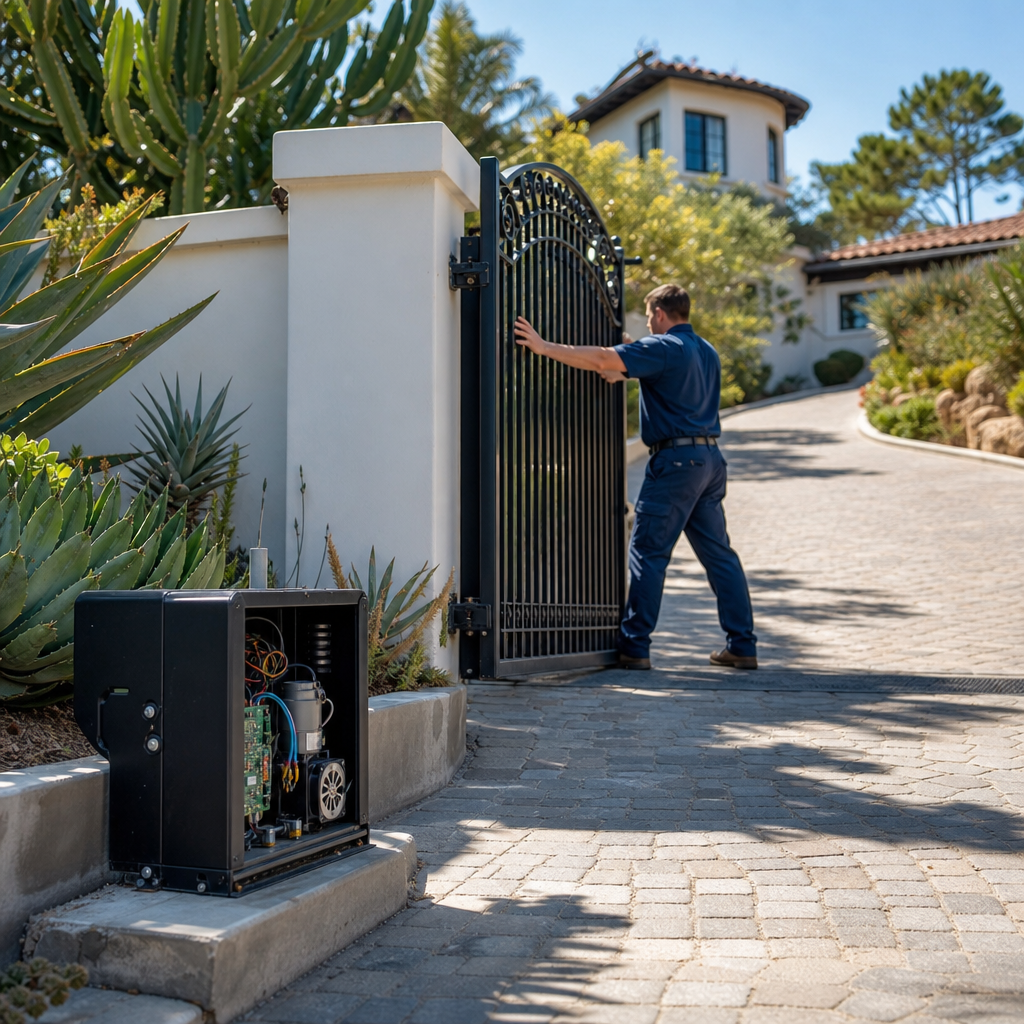
As technicians at Ironworks Gate Co. note, proper diagnosis ensures the electrical fault is confirmed and mechanical issues are identified.
Testing the Capacitor
- Label the wiring before disconnecting leads from the capacitor terminals.
- Set your multimeter to the capacitance setting.
- Measure across the capacitor terminals to determine whether the component meets its rated specification.
Checking for Mechanical Resistance
- Follow the operator manual for the applicable release mechanism to place the gate in manual mode.
- Move the gate by hand through its travel path to check for mechanical binding or excessive physical resistance.
Step 5: Install the Replacement Capacitor
Install the verified replacement part:
- Ensure the replacement capacitor matches the exact capacitance rating specified on the original capacitor or by the opener or motor manufacturer, with a comparable or higher voltage rating.
- Secure the replacement capacitor into its mounting bracket.
- Reconnect the labeled wiring securely to the proper terminals.
Step 6: Restore Power and Test Operation
Reassemble the housing and verify operation:
- Re-engage the drive mechanism as specified in your operator manual.
- Reconnect secondary power sources and restore main electrical power.
- Test gate operation to confirm smooth motor startup and proper limit switch function.
Estimated Repair Costs
There is no reliable neutral published price specific to gate-opener capacitor replacement. Cost varies with the part, access, diagnosis, safety work, and labor. Obtain a gate-specific estimate from the installer or a qualified electrician.
Frequently Asked Questions
What are the signs that a gate opener capacitor is bad?
A humming motor that does not start can indicate a capacitor problem, but other faults are possible and electrical testing is needed for confirmation.
Can a bad capacitor cause a gate opener to hum but not open?
A humming motor that does not start can indicate a capacitor problem, but other faults are possible and electrical testing is needed for confirmation.
What size capacitor does my automatic gate opener need?
The replacement must use the exact capacitance rating specified on the original capacitor or by the opener or motor manufacturer, with a comparable or higher voltage rating.
Can I move my gate manually if the capacitor fails?
Follow the operator manual for the applicable release mechanism to disengage the operator and move the gate manually.
Final Thoughts
A humming motor that does not start can indicate a capacitor problem, but other faults are possible and electrical testing is needed for confirmation. For safe replacement, turn off and lock out power, verify that no voltage remains, discharge the capacitor with an appropriately rated resistor, label the wiring, and ensure the replacement matches the exact capacitance rating specified by the opener or motor manufacturer with a comparable or higher voltage rating. If you are unsure at any point, consult Ironworks Gate Co. or a qualified electrician.[1]
Need gate opener capacitor replacement?
We’re available now - call for a fast, free estimate.
Sources
- [PDF] Lockout/Tagout – Oregon OSHA – osha.oregon.gov
- Capacitors | Environmental Health and Safety | Virginia Tech – ehs.vt.edu
- [PDF] NPTC Tools of the Trade: Testing a Motor Capacitor – aces.edu
Related reading: Gate Motor Capacitor | 10% Off & Free Estimate | Same-Day Service
Related reading: Sliding Gate Roller Replacement | Call Now-10% Off | Same-Day Service | Free Estimate
Related reading: Why Is My Gate Remote Not Working | 10% Off & Free Estimate | Same-Day Service
Frequently Asked Questions
What happens if you install a capacitor with the wrong capacitance rating on a gate opener?
Installing a capacitor with an incorrect microfarad rating can cause weak starting torque, excessive heat generation, or permanent motor winding damage. Ironworks Gate Co. recommends matching the manufacturer's exact capacitance specification to ensure safe operation and prevent motor burnout.
Why is my gate motor still humming after replacing the capacitor?
If the motor continues humming after capacitor replacement, the problem may be caused by mechanical track binding, a jammed gearbox, or internal motor winding failure. Technicians at Ironworks Gate Co. can perform a comprehensive on-site electrical and mechanical diagnostic assessment to pinpoint deeper operator issues.
Can you test a gate opener capacitor while it is still connected to the motor?
No, you must safely discharge and disconnect all wiring leads from the capacitor before measuring it with a multimeter. Testing a capacitor while still connected to the circuit yields inaccurate capacitance readings due to interference from motor windings and control board components.
About the author
 |
Sarah Miller Sarah Miller is a specialized content writer focusing on property security and access control systems, with over six years of experience in the home services industry. Holding a B.A. in Communications from California State University, Fullerton, she translates complex technical repair processes and pricing structures into clear, actionable advice. Her work helps property owners navigate gate maintenance and repair costs, ensuring they make informed decisions when hiring contractors. |
Gate not opening, off track, or opener dead?
We’re available now - call for a fast, free estimate.
Call Now - Free Estimate